Everyone has an opinion on the right way to level a scope. I’d call it a hot button issue.
This instructional guide is for the new shooter who is mounting a new scope to a rifle and is now faced with the leveling process.
When the basics are under your belt, you can make it as complicated as you want as you learn better personalized methods to level your setup and shoot further.
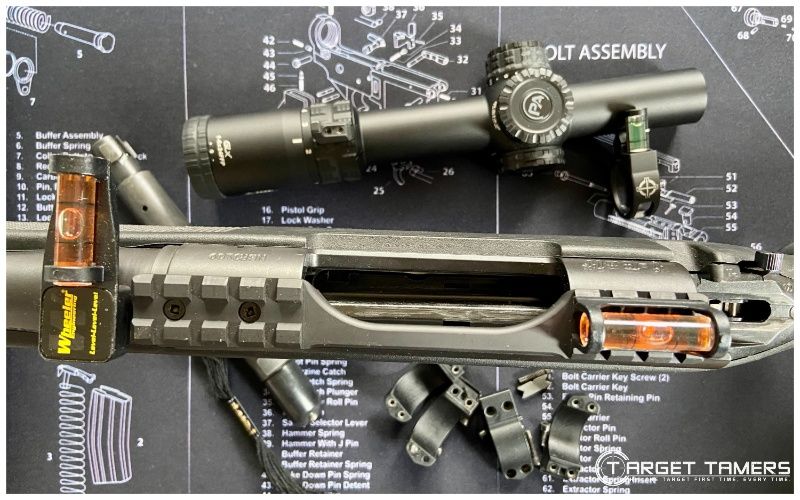
In general, the goal is to level the riflescope with gravity. The most practiced method to level a scope is to use bubble or digital levels when leveling it to a rifle. Using a plumb bob is another popular, tried and tested, easy way to level a scope to the earth.
For average distances, I lay out a simple instructional guide to achieve a leveled reticle as close to level to the earth as possible.
How to Level a Scope on a Rifle
Leveling is a vital part of mounting a scope to a rifle. If it's canted, even to the smallest degree, the POI of a long-range shot will reflect this with a shot that is off the POA or a complete miss. To prevent irrelevant dialing and futile attempts to correct, address cant with a proper level.
There are riflescopes with built-in anti-cant technologies that indicate on the display when the scope is canted. Some people keep a bubble level on their scope all the time. Others have a built-in level in their mounting rings.
These tools can be helpful to level a scope and avoid cant when the rifle is shouldered. Some intentionally induce cant for those who know how to offset for it based on their natural position or even angled shots and the terrain.
With those anti-cant scopes and specific types of shooters aside, the following is a basic guide to introduce the topic of leveling a riflescope via two of the most common leveling methods, bubble levels and the plumb line.
Step 1: Secure & Level the Empty Rifle
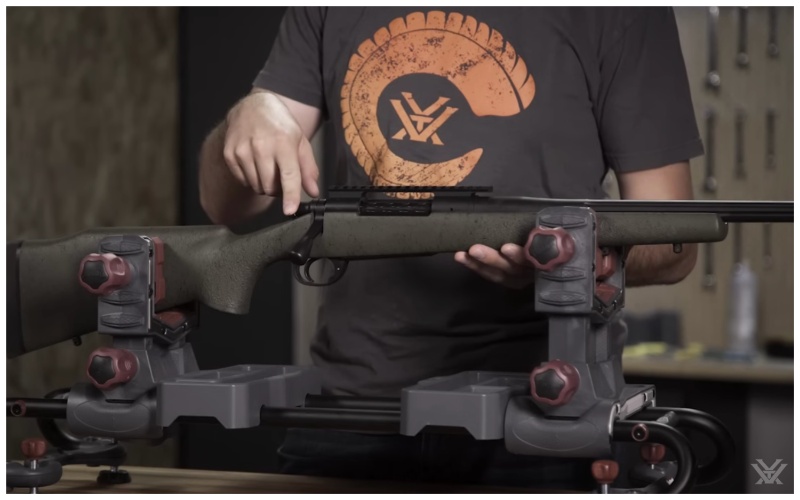
The bubble level method requires a flat surface to level a scope. If the bench/table, floor, or garage surface is not level, neither will the rifle or scope. However, before shimming down table legs is even a thought, adjust the rifle securing system to acquire a level setup.
This may mean adjusting the rests, vice, bipod, or lead sled in such a way that you can level your rifle. One of the fastest ways to check the level of your rifle is to place bubble levels to the action, rail, barrel, and wherever you can to ensure it’s as level as possible by moving it left or right as needed.
Whether or not you’re using only the plumb bob method, an empty action and secure position is still required to level a scope on a rifle.
Step 2: Mount the Base Rings
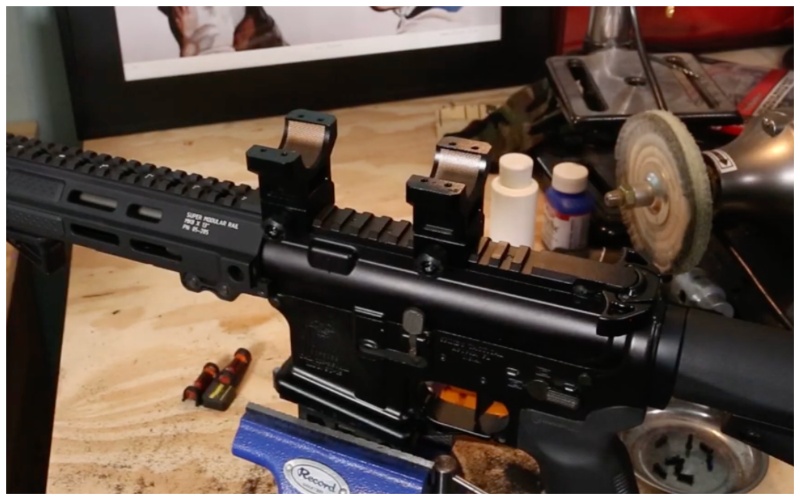
In general, depending on the type of mount used, the bottom half of the rings or the cantilever mount must be mounted first. The base is to be mounted hand tight or with enough tension to prevent movement and lug pushed forward on the rial. Don't torque the base rings yet.
If vertical split rings are used, it’s mandatory to mount both parts of the rings to hold the scope in place. (So, combine steps 2 and 3 together.)
Though it’s an arguably, and perhaps justifiably, declining trend, you may end up needing to lap the rings. For more on that process, check out our How to Lap Scope Rings instructional guide.
Step 3: Insert the Riflescope
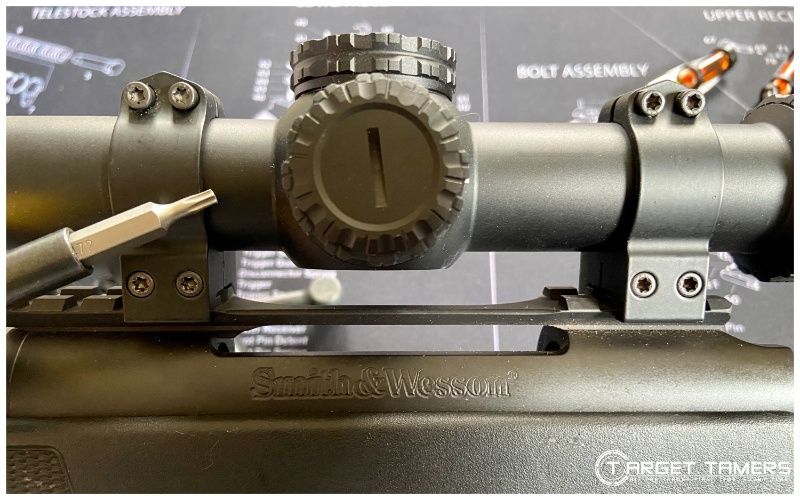
Place the riflescope into the base rings. I like to loosely mount the top rings at this point with enough slack that the scope can be rotated and moved forward and backward within the rings. Do not torque down the top rings just yet.
Step 4: Acquire Proper Eye Relief
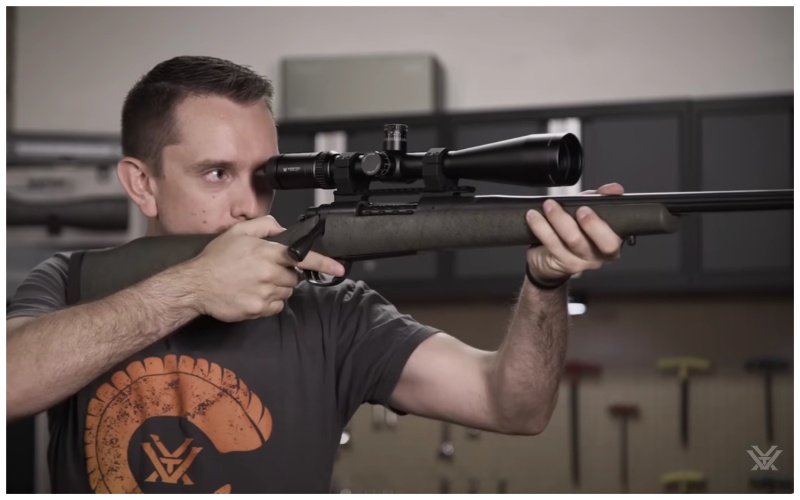
Eye relief is the distance between the human eye and the rear lens of a scope in which you can see the entire field of view without aberrations. This measurement is also indicative of a scope’s suitability with a rifle. For example, long eye relief riflescopes are excellent for heavy recoil rifles.
Set scope magnification to the highest power setting. Shoulder the rifle and move the riflescope forward and backwards within the rings until you have acquired the appropriate eye relief. This is evident when you are in your natural shooting position, have a full FOV, and no aberrations.
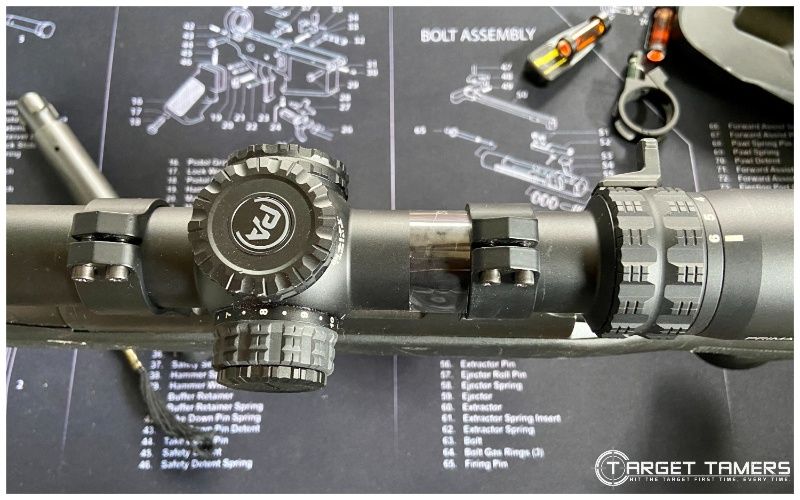
Carefully place the empty rifle back into the vice or in the rests ensuring the scope doesn’t lose its position within the rings. Some may mark the tube with tape where the scope is in relation to the rings. If the scope is unintentionally moved, its position can be found again easily to reattain proper eye relief. Don't forget to remove the tape afterwards.
Step 5: Level the Scope
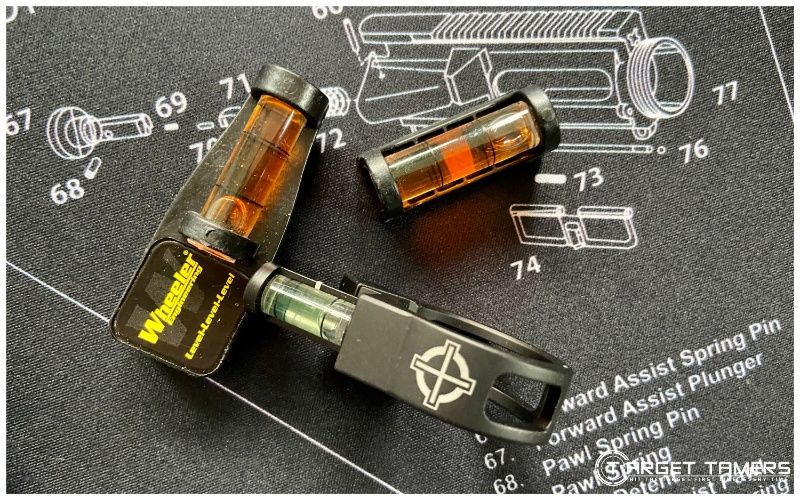
In general, everyone has a method or a combination of methods to determine the best leveling process for a riflescope. These include using bubble levels, digital levels, shims/wedges, mounts with built-in levels, grids, lasers, plumb bobs, etc.
Issues I will mention is that not all rifle receviers or rails are level to begin with, and there can be multiple reasons for this. Secondly, cheap or old scopes may have or had reticles that aren’t square to the turrets. Thirdly, and don’t burn me alive for this, not all bubble levels are equally accurate.
Having said that, I think the most important takeaway is to level the reticle to gravity. How you go about doing this is a personal preference and will determine the method you use. I personally prefer the plumb bob method, but I also have bubble levels too. Let’s continue.
Using Bubble Levels
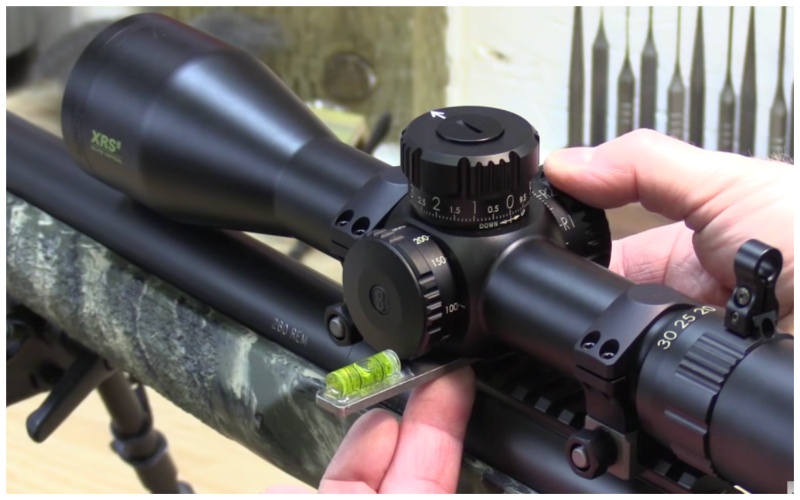
With the rifle secured and leveled back in the vice or rests, level the scope. The most common way to do this is with a bubble level.
I would say the most important location to place the levels are up against the flat side of the underside of a scope. This location is directly where the turret system is in the erector tube. While holding the level with one hand (or a finger or two) up against the flat underside, use the other hand to hold onto the scope or turret to move it in the direction needed to bring it level.
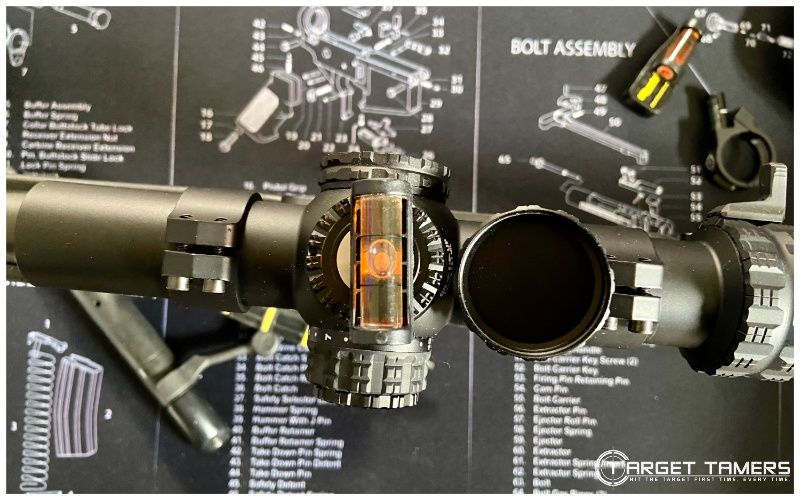
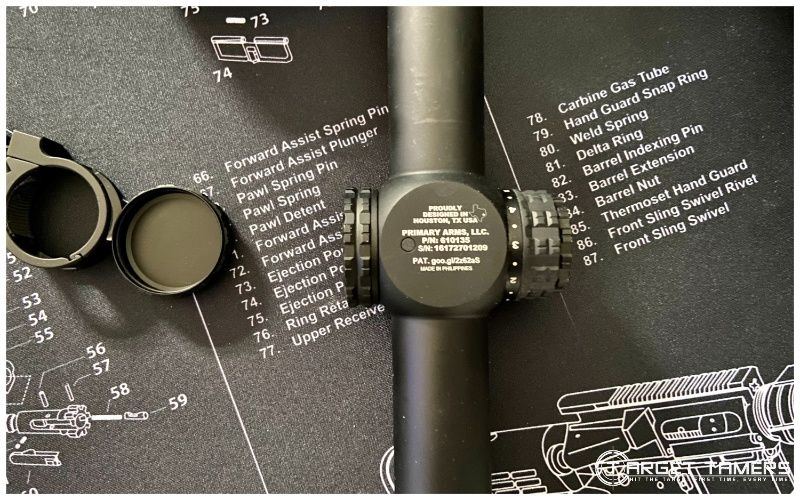
If you don’t have a level that can be seen from the underside of the scope, place the bubble level on top of the elevation turret. I recommend removing the actual cap and placing the level right on top of the turret screw for more accurate results. Rotate the scope in either direction needed to bring it level.
Using a Plumb Bob
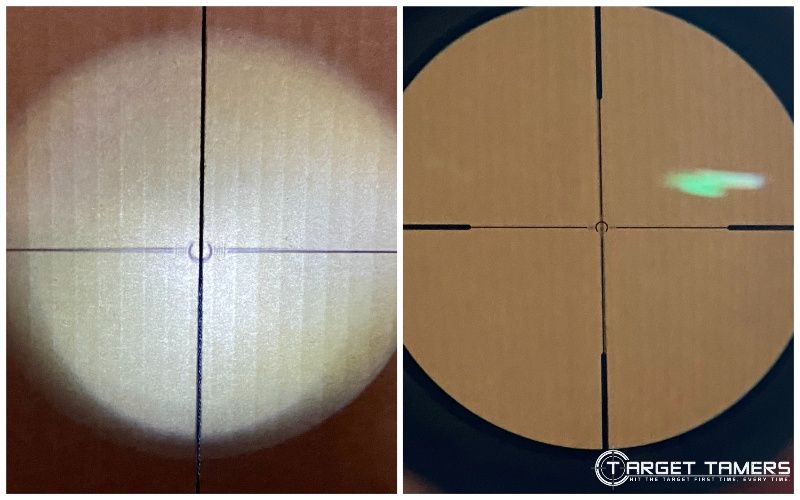
The idea is to provide a vertical reference line (the plumb) to align the crosshairs of a reticle level to gravity. Using a fence post, telephone pole, tree, etc. is not an accurate method. However, even using a plumb bob is done differently between gunsmiths and shooters leveling their own scopes.
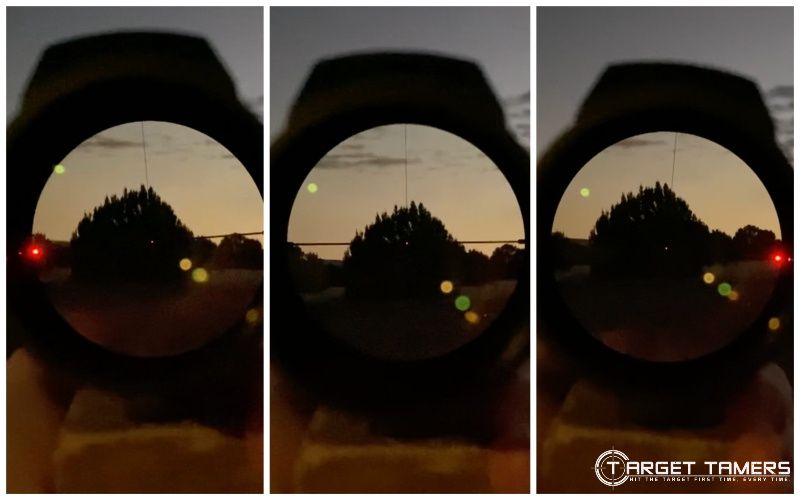
One method is to hang a plumb bob between 25 feet to 100 yards based on the magnification and parallax setting of your scope to focus the reticle to the plumb. If the eyepiece (diopter) needs to be adjusted, dial it out to focus the reticle for your vision. Looking through the scope, align the vertical crosshairs with the plumb bob by moving the scope left/right.
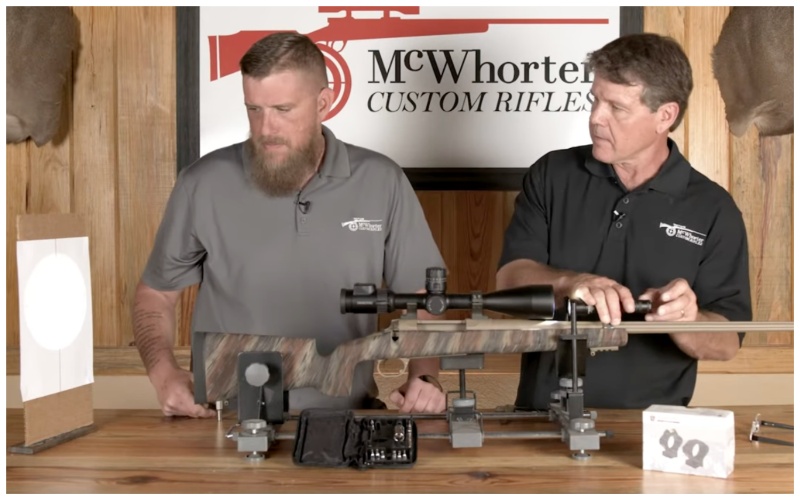
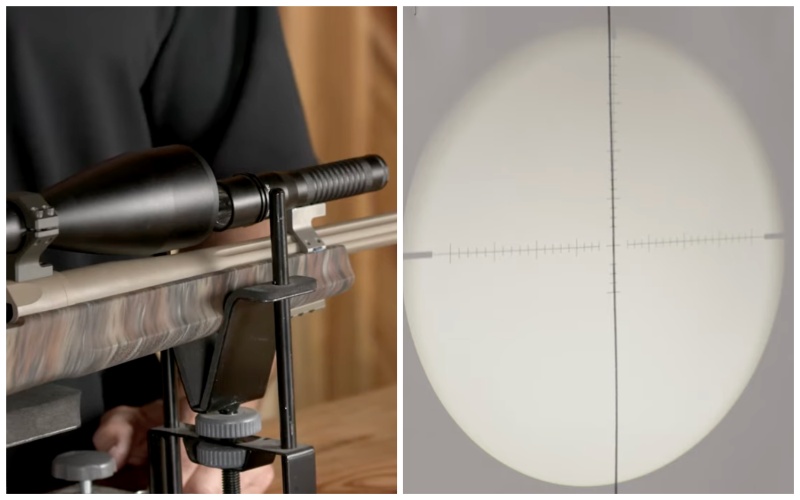
Another method is to hang the plumb bob some short distance behind the eyepiece (in the rear). Dial out the eyepiece all the way. Place a flashlight on the rail or barrel to shine through the objective lens (the glass at the front of the scope that is closer to the muzzle end of the rifle). To give you some warning, the reticle will appear upside down! It's normal - not broken.
The reticle is now projected onto the wall surface behind the scope (same end as the buttstock of the rifle). Rotate the scope to align the crosshairs with the plumb line.
Other Leveling Methods
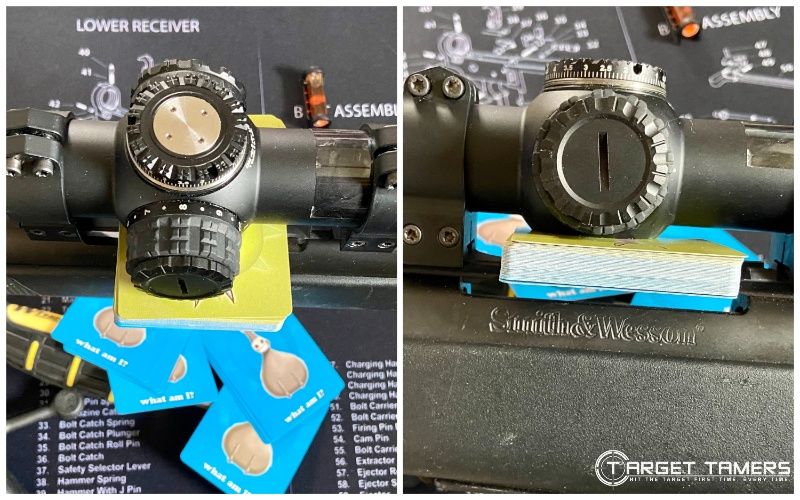
Some people simply use a deck of playing cards, business cards, or scope leveling specific wedges (shims) to level a riflescope. The approach is that the flat underside of the erector tube that houses the turret system is what the scope manufacturer uses to square the reticle to gravity.
When the scope is mounted in the rings, place cards or the shim into the space to match the flat of the underside of the scope to the flat part of the rail. Most modern scopes have reticles square to the turret system to the erector tube. Squaring the flat of the scope to the flat of the rail on the rifle makes for a fast and easy level. You can always confirm using a plumb line.
Others will also use a gridded setup in place of an actual plumb bob but to serve the same purpose. I would recommend if you’re using one of these systems to make sure the grids, paper, cardboard, etc. are also level. If the lines are canted and you align the crosshairs to the lines, obviously the scope will be canted too.
Step 6: Torque Down the Mounting System
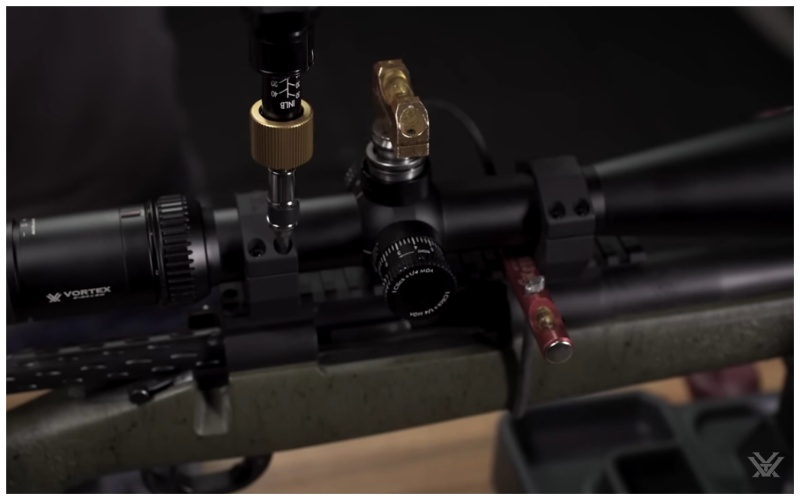
With the scope leveled, torque down the ring screws to spec. This is best done in increments and in an alternating pattern to prevent unintentional cant when securing down the scope. Keep an eye on the level with the method that is used to ensure the scope is not canting while screws are tightened.
FAQ's
Hunters are leveling riflescopes when it’s mounted to a rifle too. With a proper level, cant is not too much of a concern for most shots under 300 yards. However, for long range and ethical shots, mountainous terrain, inconsistent welds due to position, scope cant must be considered.
A reticle that is leveled with the earth can produce accurate results even if it’s not level to the action of the rifle. Some shooters do this intentionally to compensate for the inherent cant when shouldering the rifle to their natural position. Competition shooters are known to do this.
In general, there are methods to level a scope without bubble and digital levels. It can be as simple as using a plumb line made with string and an object serving to provide weight or using cards to align the flat underside of a scope to the rail.
On average, a slightly canted scope and the results of such is difficult to detect at close range while at the bench or on a relatively flat surface. However, at greater distances and in uneven terrain, a canted reticle, even at 2°, is a wide miss. Level a scope for greater accuracy.
A tall target test not only measures and tests turret tracking but also tests scope level and if the reticle is indeed square to the turret system. A plumb bob or construction level is needed. Remember if elevation adjustments cause horizontal displacement, the scope is not level.
Leveling: A Cornerstone of Scope Mounting
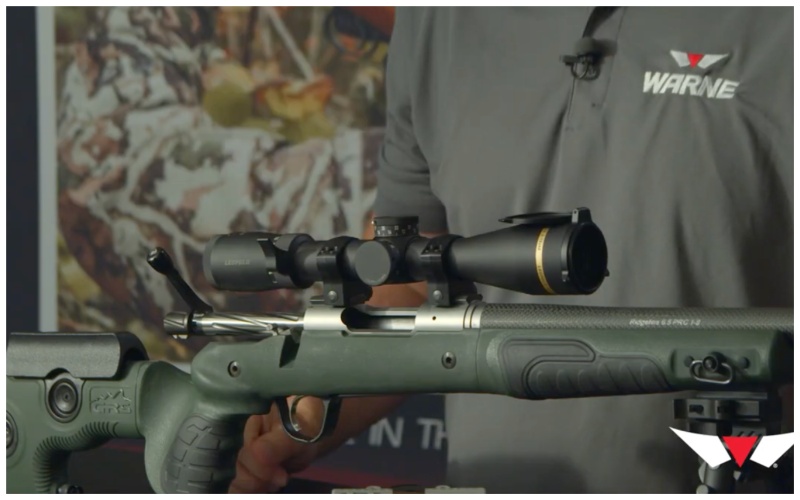
In total, leveling a scope on a rifle must not be underestimated. It is a cornerstone of the scope mounting process to promote accuracy, support long-range shooting, and strengthen solid scope mounting habits.
Because everyone’s natural position, shoulder socket, shooting application, and terrain is different, there is more that can be said and done to personalize the leveling process even when you’re shooting. But this should at least get you started on how to level a scope and how fundamental it is in the mounting process.
Further Reading


