Zealous hunters know the weighty value a rangefinder can add to their hunt.
Nowadays, with advanced and innovative technology easily accessible at the press of a button while you're out in the middle of nowhere, there's really no excuse to not have a laser hunting rangefinder with you.
But, even with all the right features in all the right places, you still need the know-how to get the most out of your rangefinder.
Despite its simple and easy to use operation, it still takes skill on the hunter's part to make the most of their unit.
To help improve your game and to make sure you fill your tag this hunting season, follow these tips to make sure you're not left high and dry in the dust of your prey.
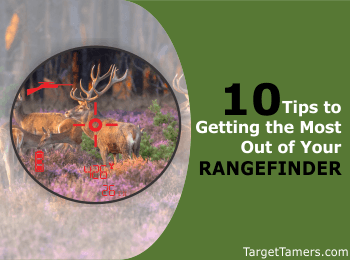
10 Ways to Make the Most of Your Hunting Rangefinder
1. Always Carry a Spare Battery
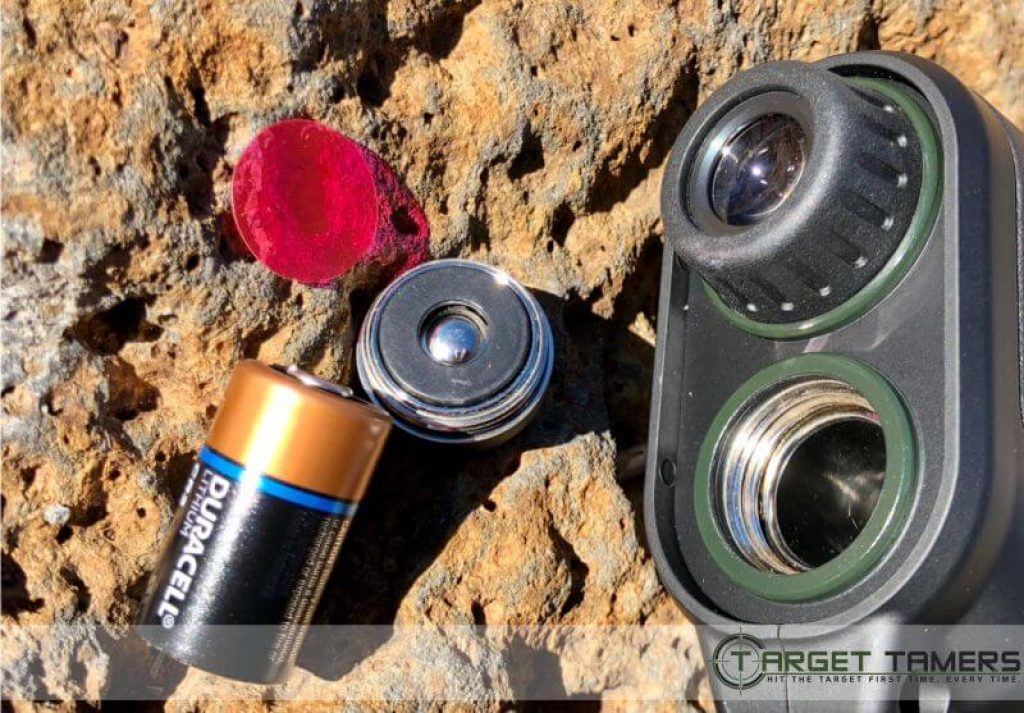
This tip is not at all as trivial as you may deem it to be. Think about the following scenarios. You just got settled up in a tree blind ready for your all-nighter. You turn the unit on and the rangefinder's battery indicator starts flashing.
You might have 50 readings left and then you'll have to call it a day. That's easily one one hour left of use.
It's common knowledge that the less battery life there is, the harder the unit will try to range accurately. Think about how you function without coffee... That's what the rangefinder is like without juice - sluggish. It's pretty much promised that you'll wish you had a spare on you.
So, are you thinking that wouldn't be a problem since you'll pick up a spare at the nearest gas station to your hot spot? Think again. If you're out in the boonies, what are the chances that the small town, minimal-supplying corner store is going to have the modern day lithium ion batteries that most conventional hunting rangefinders now take?
The odds are low. This is pretty self-explanatory. Always carry a spare power source.
2. Choose a Rangefinder With Angle Compensation

There are many skeptics that think that angle compensation features are an expensive waste of money. Rubbish!
Dedicated hunters know that your prey can lead you to various types of terrain.
Even a 40 degree angle incline up a hill can cause significant yard measurement errors that can mean a misplaced shot and spooking the target.
Even worse, you could wound an animal and now you have to track it to end the unnecessary pain and suffering your bad shot caused.
Whenever you have to range down from the top of a cliff or up towards the steep part of a hill, the true horizontal distance will always be different to the line of sight distance and getting the right angle can make all the difference.
It's worth having angle compensation features for those "just in case you need it" moments.
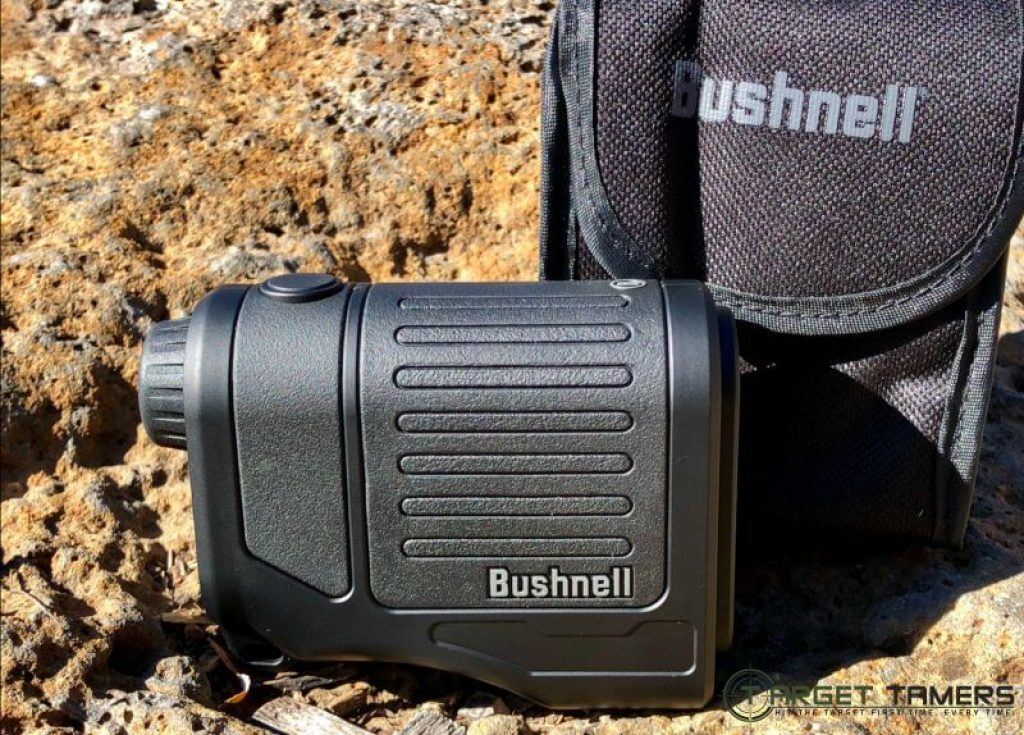
3. Make Sure It's Waterproof
Depending on your hunting activities and commitment to the sport, you might find your rain-resistant rangefinder works just fine. But, for those of you who aren't a discriminator of weather, you'll want to make sure your rangefinder can survive just as long as you can in ghastly weather.
Think about the time you accidentally dropped your cell phone in a sink of water or it fell into the toilet. Your rangefinder will do the same thing if its dropped into a pond or even a puddle. Most waterproof rangefinders have a level of water submersion it can survive.
This is one feature you mustn't compromise on. Turning your back on a hunt because of a few nasty rain clouds would be an utter shame, wouldn't you think?
4. Use Scan Mode
Unless you're hunting stationary targets, you're going to need a Scan Mode feature. But then again, stationary prey wouldn't really make you a hunter now, would it? Most hunting rangefinders now, even the very budget-friendly and entry level units include the scan mode option to allow you to keep up with your moving target... like that leaping red deer that's quickly leaving your ranging spread.
Unless you've got landmark distances memorized or you have excellent estimation distancing skills, then you really need to utilize your scan mode for constant distance updates on your moving target.
5. Use the Accessories
It might seem unimportant to invest the extra dollars to get quality accessories, but you really need to if you want your hunting rangefinder to last, be easily accessible, and to really be an asset in your hunt. Most come with neck lanyards, cases, and attachments to strap to belts or pockets. Make sure that the accessories that come with the rangefinder are worth using.
If the case seems too snug or too big, then ditch it. If the the lanyard is too long or too short, then get an adjustable one. Rangefinders now are sporting an extremely compact design that can easily fit in any of your pockets.
The idea is to make it convenient to handle and easy to access and stow away. If you're into extreme long distance shooting, then make sure you get the right attachment or mountable accessories to incorporate onto your rifle, bow, or tripod.
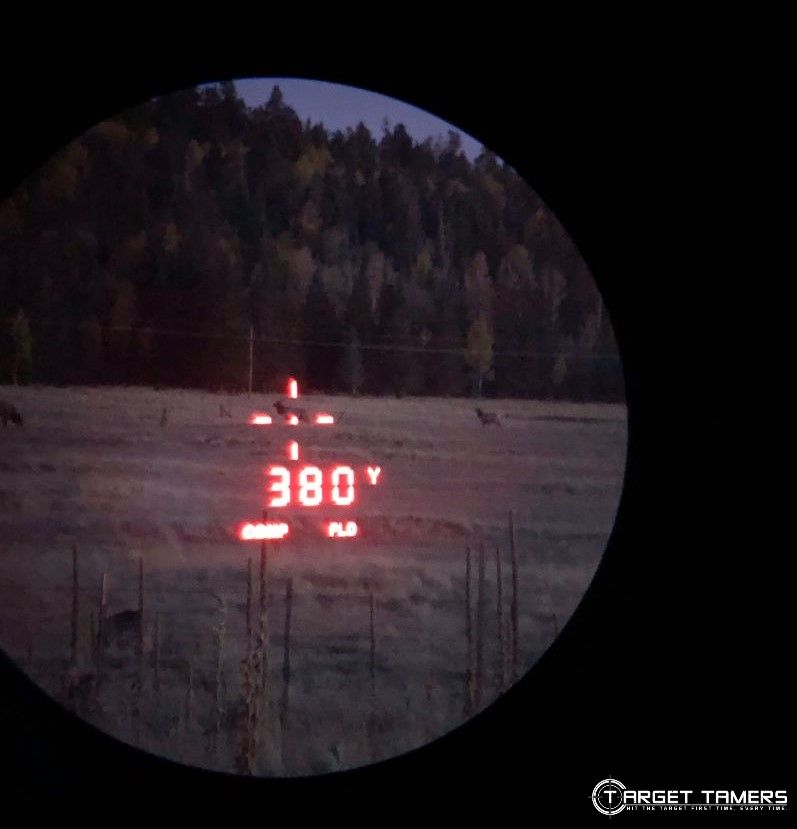
6. Get Familiar With the Display
This really is a no-brainer. Every hunting rangefinder displays their readings a little differently, especially if you've got a fancy rangefinder that has a lot of features that read more than just distance. These kinds of units will require you to either utilize online tutorial videos or to read the manual.

Although you, like nearly everyone else, may be too excited to play with your toy rather than read the instructions, it's worth taking the time to understand what is and will be displayed on the screen.
Getting familiar with the unit also requires you to make sure you know what button to press when you need it. There's nothing worse than thinking you're about to range that whitetail, but you're led to the menu screen instead.
7. Easy Modifications to Reduce Noise
Staying as quiet as can be can be tough if your rangefinder doesn't have enough rubber armor to absorb noise due to inadvertent taps and bumps such as from a tree stand railing or release aid. You can buy a rangefinder that already has noise reduction armor, or you can get creative...
If you wanted to, you could always wrap your rangefinder with some sort of heavy cotton fabric like stick-on moleskin made for softness and durability and/or hockey or electrical tape that doesn't freeze and stays flexible in below freezing temperatures. Don't be afraid to modify where you need to.
8. Pay Attention to Your Optics
Many users of rangefinders that haven't gotten caught up on their unit's abilities often don't realize that their screen has a brightness setting. Before you start complaining that you can't see the reticle at noon while the sun is out or it's too bright at one a.m. destroying your night-vision, check out your brightness adjustable settings. You might be pleasantly surprised.
Of course it helps though to know what kind of optic specs you're getting in the first place. A general rule of thumb is: the more coatings then lens has, the wider the objective diameter, the brighter and sharper your visual will be.
Also pay attention to the exit pupil diameter, the larger this number, the more light collection there is for the human eye resulting in a brighter image. For more tips on maximizing efficiency of your rangefinder in any light condition check out this article.
9. Use To Sight-In Scopes

You read that right. Take your rangefinder, scope, and weapon of choice to the target range or to your hunting spot to sight-in your scope. Ranging out to targets, landmarks, or decoys at various distances can save you the all the guesswork.
Then custom match the distances to sight-in your scope. Using the rangefinder to give you accurate distances is doing all the hard work. What's left for you? Aim, range, and shoot.
10. Do Your Due Diligence
Your rangefinder will only perform as good as you can wield it. Do your due diligence and get to know your rangefinder and how it works and what it can offer you by reading the manual, watching tutorials, and especially getting out there in the field and practicing with it.
Experiment with the first and second target priority modes the unit might offer so that you can reduce any chances of error. Play around on different elevations to see if you can hit practice targets accurately. Get the point?
A laser rangefinder should be one of the most highly prioritized pieces of equipment you should take when planning a hunt. Getting to know the ins and outs will change your game from mediocre to impressive. Taking the time to get to know the full potential of your rangefinder can mean the difference between a full tag or hunter's remorse.
Confused by the LINGO? Check out this GLOSSARY of Hunting Rangefinder Terms.
Further Reading