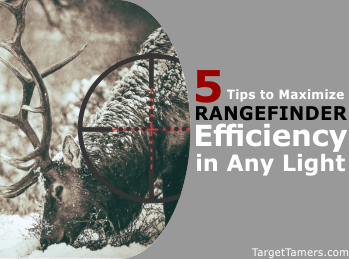
Getting the most out of your laser rangefinder means knowing how and when to use it no matter the weather or time of day.
Ardent bow and firearm hunters alike know that lighting is a crucial factor to consider when you're out to stalk your prey.
When you blamed your rangefinder for not getting the right distance on the whitetail you missed, could it have been due to the target, the sun, or even the user?
Hmm. Not knowing how to unlock your rangefinder's full potential could mean you end up with an empty freezer this season.
You'd think you'd need a whole manual just to educate yourself on maximizing rangefinder efficiency, but you'd be wrong.
It only takes this one article to get you up to speed with rangefinding in different light conditions.
How Laser Rangefinders Work
There are many factors that can determine whether or not your rangefinder will perform optimally in rain or shine. These can include:
- lens quality and size
- display and reticle color
- weather and lighting conditions
- type of target
- reflectivity of target
With all of these relative and sensatory factors determining the quality of functionality you'll get from your rangefinder, it's important to first understand how rangefinders work. Simply put, at the press of a button, laser beams are sent out to be bounced off from the target to return back to the unit.
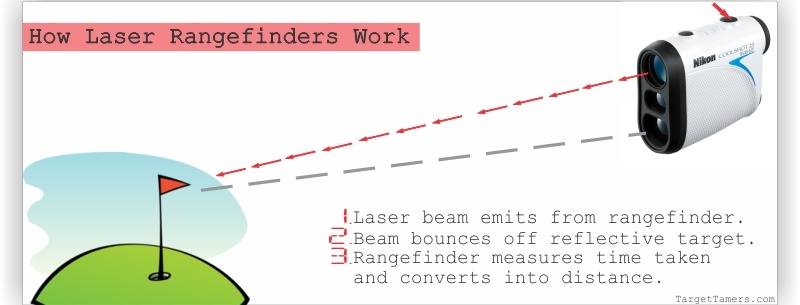
An internal clock measures the time it took for the laser beam to return and it converts this time into distance. With that under your belt, how can you maximize rangefinder use in any condition?
1. Know Your Optic Specs
Engineers have it down to a science when creating the perfect formulas that make those lenses you peer through every time you spot that doe. Understanding optical lingo, especially for the rookie, can be a science in itself. So let's break it down.
Coatings
The more chemically treated coats the surface of the lenses have means there will be an increase in the ability for more light to be transmitted to the naked eye. The higher the quality of the coatings and the more there are results in a brighter image no matter the time of day.
- Coated: at least one lens surface has single layer coat
- Fully-Coated: all air-to-glass surfaces have single layer coat
- Multi-Coated: at least one lens surface has multi layer coats
- Fully Multi-Coated: all air-to-glass surfaces have multi layer coats
Many companies also apply their own custom coatings such as the LotuTech coating featured on Zeiss Victory rangefinders.
Size of Lenses
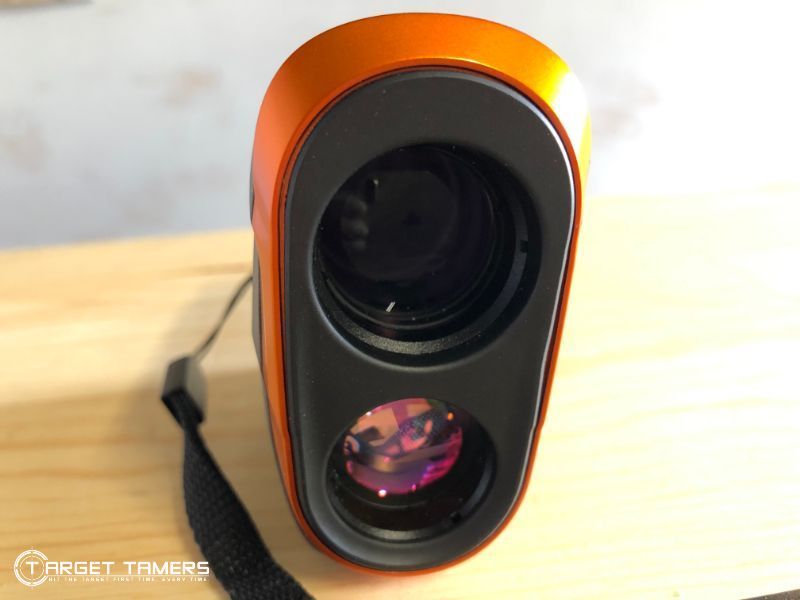
There are two different sizes of lenses that can also directly affect how bright of a unit you are going to have.
- Objective Lens: the diameter typically ranges between 18-26 mm.
- Exit Pupil: this is the circle of light that you can see through the eye piece when holding it about 12 inches away from you. This will give you an idea of how much light is available to the naked eye.
General rule of thumb: the larger the numbers, the brighter the image, the more shots you take, the bigger the truck you need. Now that's a way to explain to your other half why you need a new truck!
2. Know Your Display Preferences
The color and type of display and color of the reticle play a significant role in how efficient your rangefinder will function during various times of the day and weather conditions.
LED Screen/Red Display
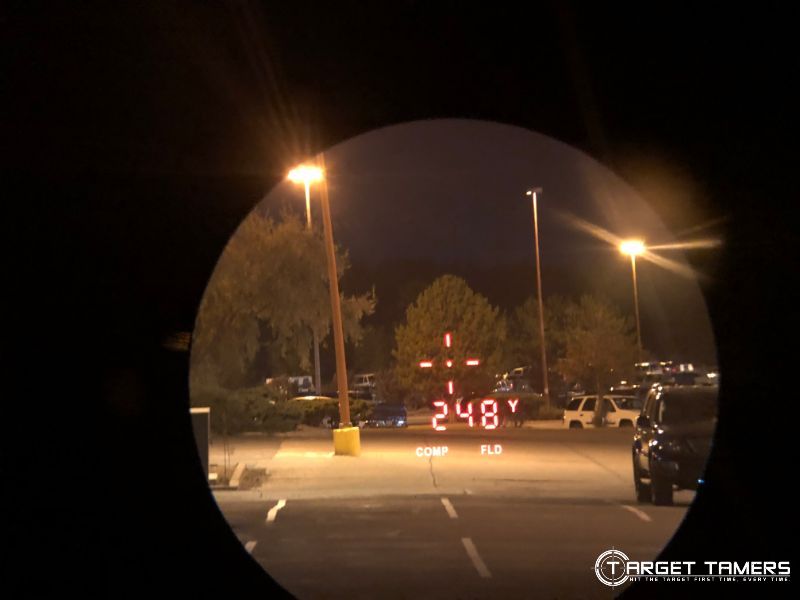
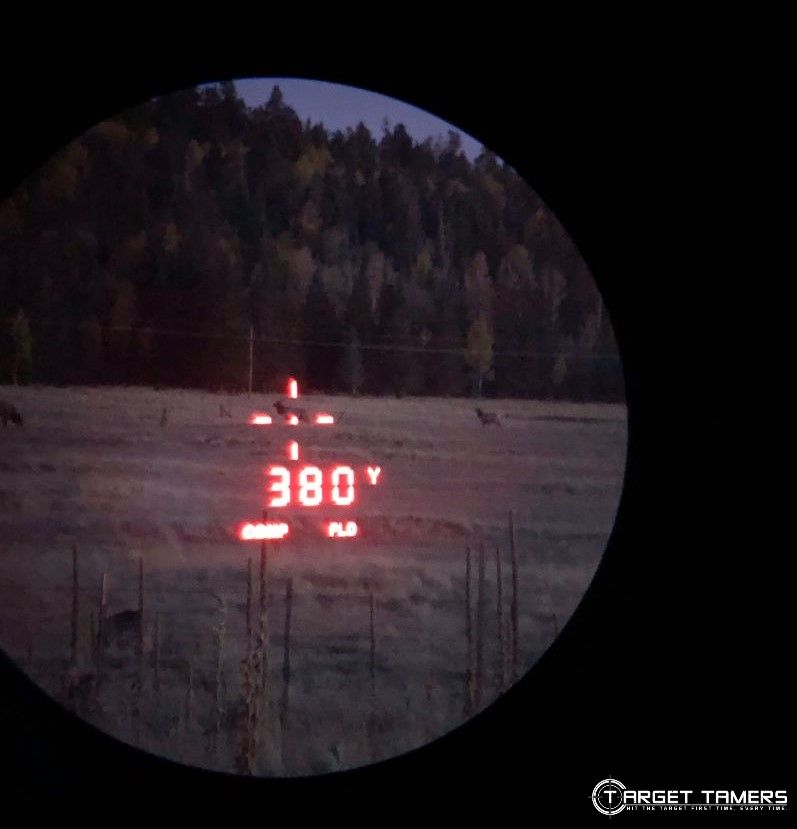
Rangefinders with these screens usually have a red reticle and display to boot. They're often more expensive and have better image quality than an LCD unit. The illuminated red reticle on an LED screen rangefinder is actually thought to be the best type of unit to use during low light conditions since you can see it against any background.
With that being said, there is a drawback. In the dark, the display can be too bright, destroying your night vision when rangefinding at night. In bright sunlight, perhaps during the middle of the day, the red reticle can be drowned out by ambient light. The laser beam gets washed out before it can successfully reach the target to give an accurate reading.
If you do like the LED display, choose one that has an adjustable brightness setting to adapt it to a level you're comfortable with no matter the time or condition of the day.
LCD Screen/Black Display
These units tend to be more affordable than the LED units. They display a black reticle that is excellent for day use - even when the sun is out and about. Although the black display is much easier to see in bright conditions than their LED cousins, it can be difficult to see the reticle when ranging on shaded areas, dark objects, or during low light conditions.
If you like the LCD screen with the black display, look for a rangefinder that has the option of using a backlighting feature. This will come in handy for when you need that illuminated moment to see the reticle and read what's on the display.
3. Time Your Hunt
From the above information you've learned about rangefinder optics and displays, it should now be obvious that ambient light has a huge effect on how the unit will function. Bright skies and artificial light will reduce the rangefinder's ability to get maximum ranges effectively.
Although you might not always know ahead of time when those ideal cloudy skies will roll in, ranging at times with minimal light such as at dusk should be seriously considered to get the most out of your rangefinder.
Besides, if you're tracking whitetail feeding behaviors, you'll know that the latter part of the day is a productive hunting time anyway.
4. Know Your Target's Reflectivity
Because of the way rangefinders work, it makes sense that the best readings you'll get will be off reflective targets. Unfortunately, elk and the like aren't very willing to wear reflective gear to make hunting easier for you. But then again, where's the challenge in that?
A way around this is to buy a more expensive, higher quality, and long distance rangefinder or to range to a reflective target that's nearby. Range to the wet pile of leaves or wet rock that the prey is grazing around, instead of ranging to nearby dry surfaces.
Most conventional rangefinders can get you a pretty precise range, give or take one yard.
5. Know Your Environment
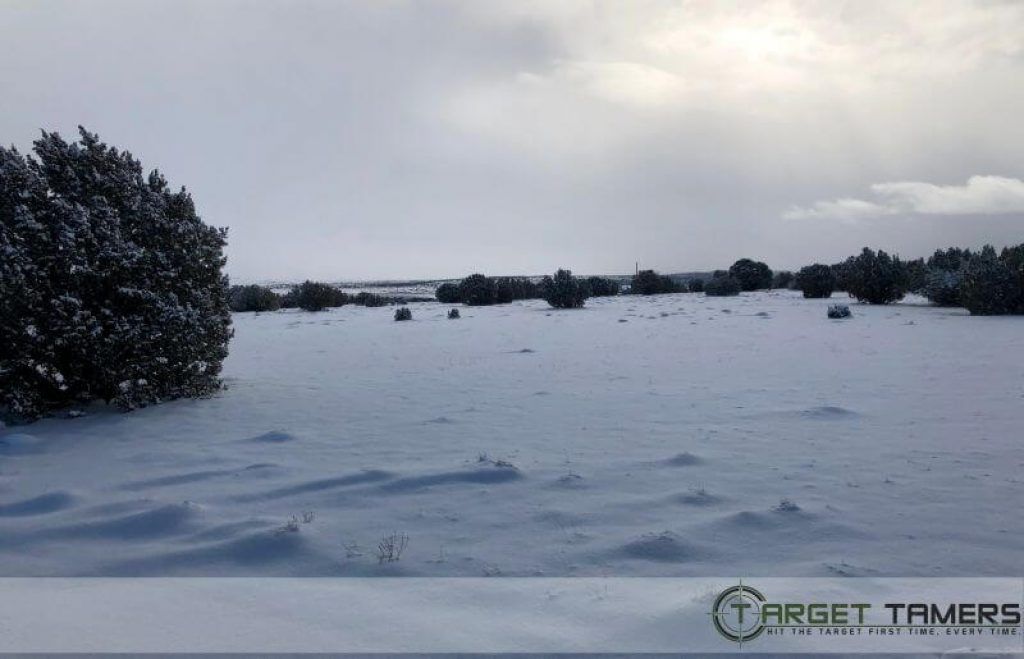
Just as that bright sun can ruin your rangefinding, snow and dark, dull objects can affect it too. During the Winter, wildlife can sometimes be obscured by snow. The crystals that make up snow can diffuse and scatter the laser beam. Ranging in snow with bright skies might just be a sign to stay home or to get lots of practice handling your unit if you're determined to get that elusive moose.
Ranging onto dark or black surfaces could also absorb the light emitted from the rangefinder since they have a high percentage of light absorption. If you're scouting out a hot spot, expose some landmarks or set some brightly colored decoys just in case you need to range to that instead.
Additional Tips!
The following tips are not necessarily related to lighting or weather conditions, but they're still helpful if you want to maximize rangefinder efficiency, and of course... user expertise.
Consider Density of Target
This is pretty much self-explanatory. The more impervious and thicker your target is, the better the chances that the laser beam will bounce off of it. If the surface is thin and spread out, second target priority mode might range beyond your intended target.
Consider Shape of Target
General rule of thumb: flat surfaces are going to be better to range since most, if not all, of the light emitted can be reflected. Concave and convex surfaces, say that of a tree trunk, will reflect minimal light back since light will also be deflected left and right. When ranging your prey, aim for the broad side as much as possible.
You now understand that ranging and hunting can go hand-in-hand, and they make the perfect team when you know what you want. Specifically search for certain features of a rangefinder that can help you with your individual hunting needs. This will make things you can't control, such as the weather, a non-issue.
Now you are a MASTER OF LIGHTING, check out our guide to ANGLE COMPENSATION.
Further Reading