Many hunters often get confused on a spotting scope's role in the hunt, but, it's actually very simple.
If you are one of those hunters, say goodbye to remaining ignorant! In this spotting scope guide, you'll learn how to use a spotting scope for shooting, how to set it up, and get some great tips on how to choose a spotting scope if you are in the market to buy.
This should leave you knowing exactly how to use a spotting scope in every situation. But first, back to the role of the spotting scope in your hunt...
The Role of a Hunting Spotting Scope
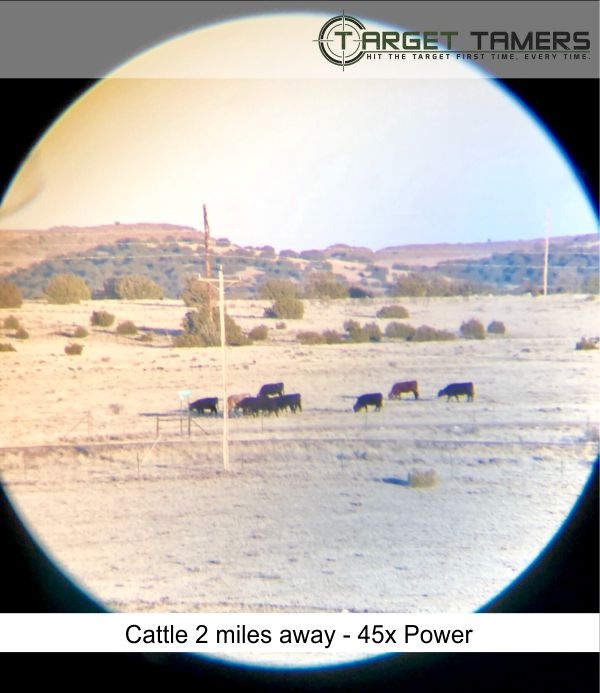
Use a spotting scope for long distance viewing and for determining commitments to long distance shots.
The process will look like this:
- Set up the binoculars and scan for the herd.
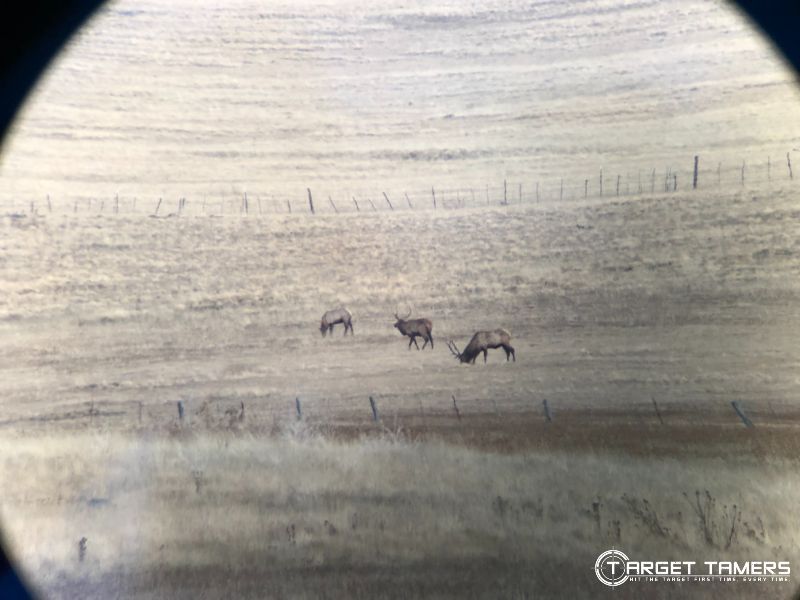
- Once you've found them, replace the binoculars with the hunting spotting scope for more information and close-up viewing.
- Use the spotter to get details of the size of the rack, the sex, and anything else that you need to make sure you're taking a legal shot.
- Use your laser rangefinder to get a distance.
- Make the turret adjustments on your rifle scope and make the shot.
- Not that confident yet? Then stalk on closer.
How to Set Up and Use a Spotting Scope
If you're really new to spotting scopes, then you're probably looking for instructions on how to use a spotting scope and how to set up a spotting scope.
If you're not reading your user manual, then now might be a good time to pull it out. Otherwise, here's my version starting with the tripod.
Remember, these are generic instructions for the most commonly-used tripods and spotting scopes available. Yours may be a little different, so consult your user manual or contact the manufacturer.
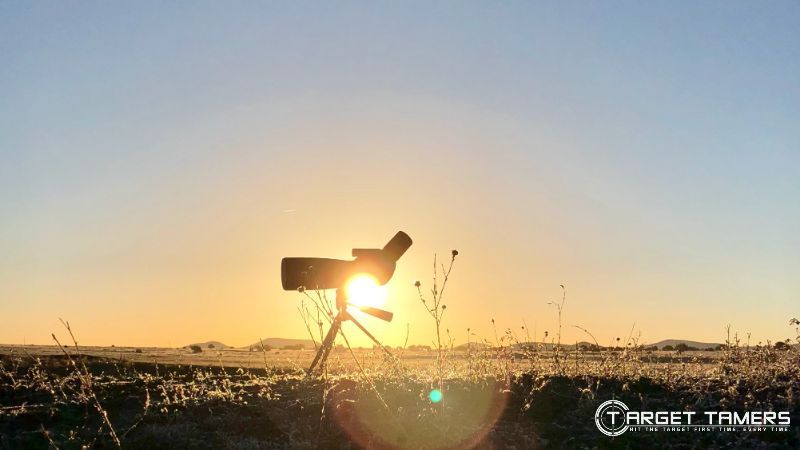
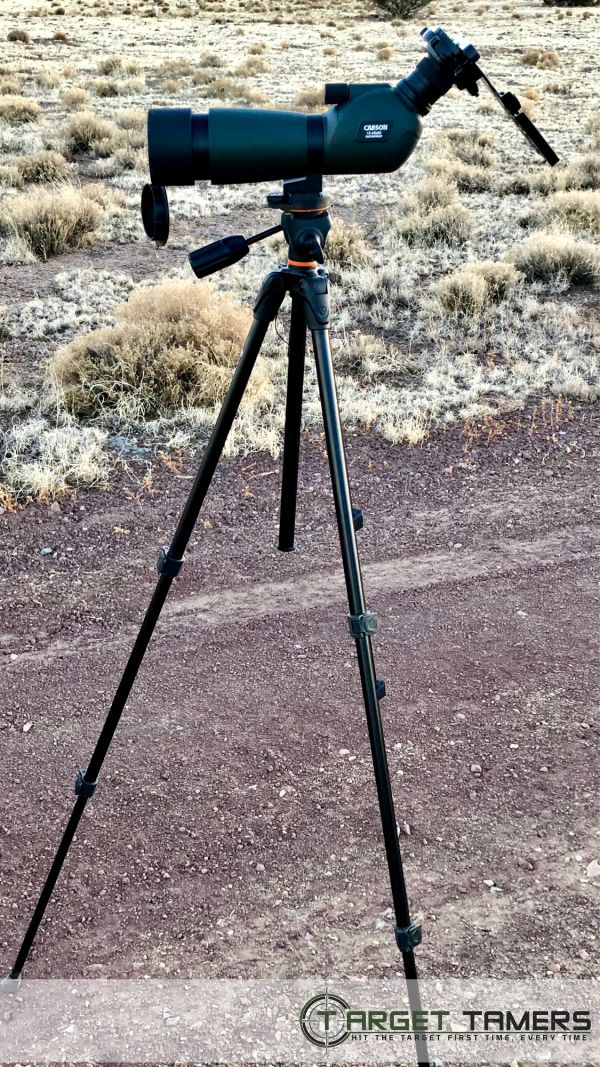
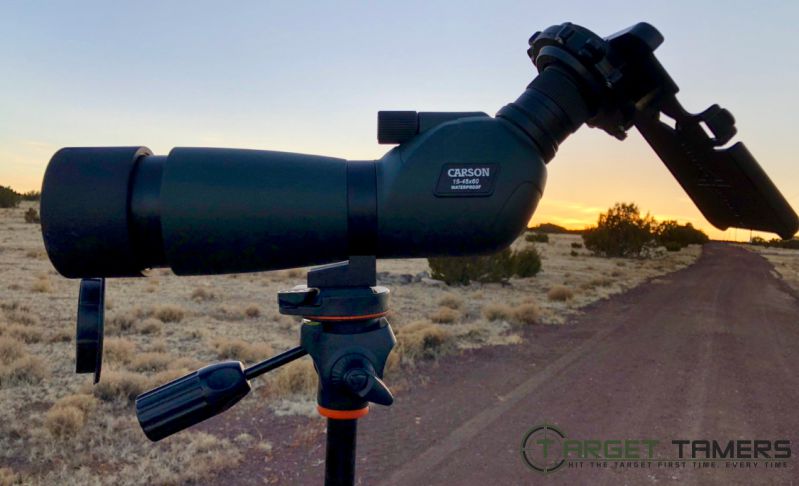
Setting the Scope up on the Tripod
- Extend the tripod legs by unlocking or unclipping the leg levers, then lock the levers back into place once you have your desired height.
- If you're in rocky or uneven terrain, adjust the leg extenders to the appropriate height for each leg if your tripod is capable of doing so.
- Consider if you need additional weight to hold the tripod down. If you have a hook that hangs from underneath the center of the tripod, attach a scope bag to add some weight.
- Take your spotting scope outside of the case. If it has a stay-on cover, you can leave it on if you want to.
- The tripod may already be fitted with a mounting plate or a tripod adapter that can be removed from the mounting platform on the tripod. Thread the adapter or the plate to the scope and tighten with the wingnut or whatever tightening mechanism the tripod has. You may need a coin or a special tool to do this, so make sure you go through this process before you hit the range or the hunt.
- Mount the scope to the tripod. Quick release systems may just require you to slide the plate into the mount platform until it clicks in place. If the tripod has one, lock it in place.
- Most quick release systems have a button that you can depress to quickly remove the scope if you need to. Just don't forget if you locked it in place, unlock it first.
- If you need more height, unlock the neck extension or the center column extension of the tripod then lock back into place to secure it when you've reached the desired height.
How to Tilt & Pan the Scope
- To tilt and pan the with the scope, you'll need to unlock the tilt and pan locks. This can be done with the levers or locks on the tripod. Some newer tripods have the locking mechanism built into the handle itself. By twisting the handle clockwise you can lock it in place and untwisting it will loosen it if it has that ability.
- Remember to never tilt and move the spotting scope with the scope itself. Always use the pan handle to maneuver it.
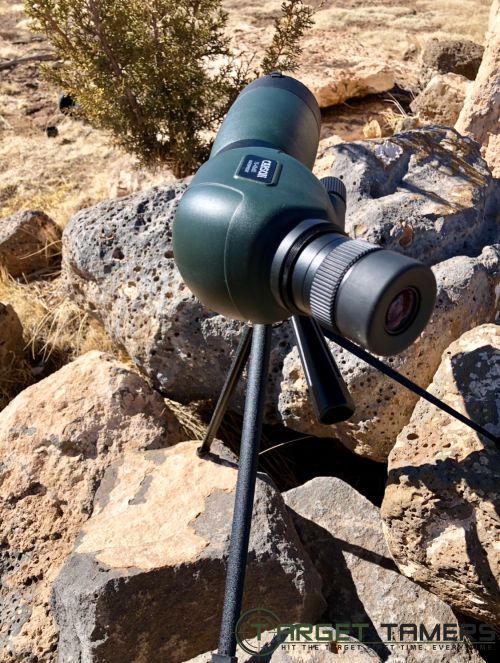
Preparing the Scope for Use
- If your scope has the stay-on cover on, remove, unzip, or pull down the parts of the cover to expose the objective lens, eyepiece, and focus controls.
- Remove any caps that may still be on the spotting scope.

Finding Your Targets
- Start at low magnification and focus your image for sharpness and a wide field of view. To focus, move and turn the focus controls until the image is sharp and clear.
- If you wear glasses, you'll want to fold down or twist down the eyecups until you have enough eye relief.
- If the sun is at an angle to your scope and not behind you, then pull out the retractable sunshade at the objective lens end if your spotting scope has the built-in feature.
- Scan for targets if you haven't already done so with binoculars using the pan handle to view the terrain.
- Once you've found your targets at low magnification, increase the power until you've reached your desired view by turning the zoom ring.
- If necessary, refocus with the focus controls until you have a sharp, clear image.
Tip:
To find targets with a spotting scope, start with the lowest magnification first for the widest field of view. As you increase your power range, you'll also be decreasing your field of view.
It's really not as difficult as it sounds, although the instructions look rather lengthy. But, with practice and some very convenient accessories (more on this in our Tips on Choosing a Spotting Scope section), fluidity and time-saving techniques will become second nature.
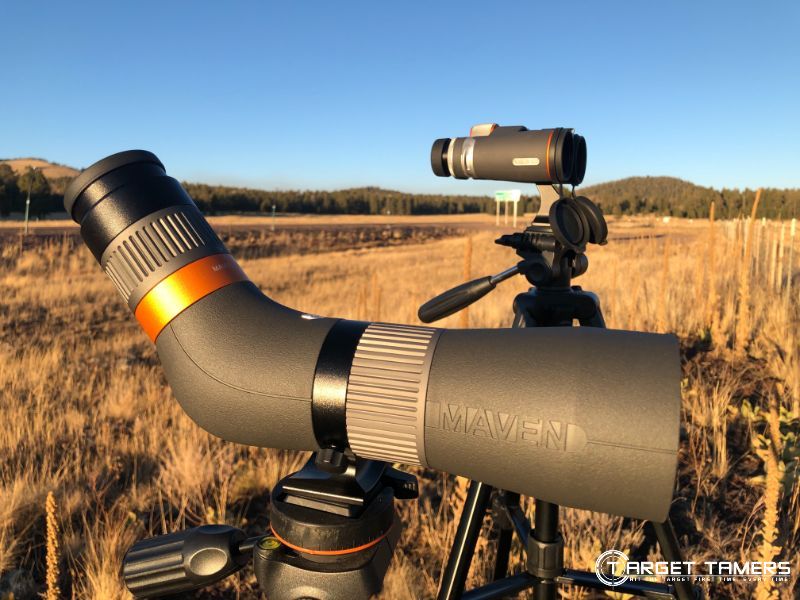
But, if you like the sound of more magnification power than binoculars, but you're not necessarily liking the whole "set-up" process, opt for a compact, some-what hand-held spotting scope. For a recommendation on some of the best hand-held and compact spotting scopes available, check out our Vortex Spotting Scope Reviews and Leupold Spotting Scope Reviews just to name a couple.
Tips on Digiscoping & Camera Adapters
Imagine if you could snap a pic or record a video of that elusive elk or the trophy moose that you've been tracking for years. Perhaps you're more interested in sharing a piece of the beautiful mountains you hiked through. Or, you want to capture a breath-taking moment of the setting sun before you pack up and head on home.
Thanks to camera adaptable spotting scopes, you can have all that and more.
Realistically, most hunters don't care if their spotting scope is camera adaptable or not. But, there are avid outdoorsmen out there who do care. So, for you, here are a couple of tips on spotting scopes and digiscoping.
Tip 1:
The spotting scope and camera must be compatible in order to ensure that you have a proper fit.
Tip 2:
Many universal phone and camera adaptors that simply snap on might do the trick on "non-digiscoping spotting scopes".
Camera Adapters for Spotting Scopes
Most spotting scopes are camera adaptable. All you need is a camera adapter that can be attached to the spotting scope and voila - you have picture-taking capabilities. But, camera adapters come in all shapes, sizes, and forms. Just to name a few...
- Adapter rings
- Universal phone mounting adapters
- Specific iScope iPhone adapters
- Point-N-Shoot adapters
- DSLR (digital single-lens reflex) adapters
- Compact camera adapters
- System cameras (hybrid of DSLR and compact camera) adapters
Some adapters are simple and easy to use. For example, the MeoPix iPhone adapter for an iPhone 4S/4C. It simply snaps onto the eyepiece of your Meopta spotting scope. The adapter also has a mounting bracket to hold the camera of an iPhone in perfect alignment with the exit pupil.
Some adapter rings like Leupold digital camera adapters simply snap onto the lens of a digital camera.
Other adapters require assembling. You have the attachment that goes onto the eyepiece, another adapter with the lens size that fits the camera, and then another adapter on top of that to connect the entire assembly to the camera. Take Swarovski's system as an example.
So, if you're willing to spend the few extra bucks, take a moment to soak in the scene, and to use your trigger finger on something other than your rifle trigger, then happy shooting!
7 Tips to Choosing the Right Spotting Scope
Don't forget to read over these final words before you buy spotting scopes. Save time, weight, and money when you know what to look for.
Tip 1:
A spotting scope can add to binocular use, not necessarily replace it. Use it as a supplement optic to get details that a binocular can't.
Tip 2:
Hunters who wear glasses and who want to keep them on while glassing should opt for a spotting scope with long eye relief. It must not be less than 16 mm.
Tip 3:
If you can, see if you can try a few models out before you choose to buy hunting spotting scopes. You can get a feel for how your style of hunting will influence your spotting scope buy.
Tip 4:
Most tripods appropriate for spotting scopes are either ball head or video head tripod
Tip 5:
Some high-end scopes are made up of modules that allow you to change out the objective lens for your glassing convenience - even while mounted!
Tip 6:
Quick Release tripod mounts are available from most optics brands starting with low budget brands like Simmons all the way to Vortex and Zeiss.
Tip 7:
Decide whether you want an angled or straight spotting scope and know what features you can't do without before you even begin looking. Check out our Straight VS Angled Spotting Scope Design & Other Features to Consider Guide if you need more help figuring this out.
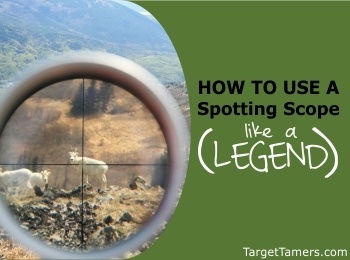
Glass Like a Legend!
Keep these tips in mind when shopping for your scope, then once you have made your choice use this guide in conjunction with the user manual to learn how to use your new spotting scope. Soon you will be glassing like a legend.
Check Out Our Pick of the Best Hunting Spotting Scopes Right Here
Further Reading
- Maven S.3A 20-40X67 Spotting Scope Review – Hands-On Field Test!
- Maven CS.1 Review - 15-45x65 Spotting Scope (Real Hands On Field Test)
- Leupold SX2 Alpine HD Spotting Scope Review (Angled)
- Maven S.1A 25-50 X 80mm Spotting Scope Review (Angled Body)
- Zeiss Victory Harpia Spotting Scope Review - 85mm Angled with Dual Speed Focus System


Wonderfully explained
Glad you found the article useful Susanta!