Lapping rings is a legit procedure to improve grip hold between the rings and the scope.
If you’re going to attempt a DIY lapping on modern scope rings, you should read this first.
In general, lapping compound is applied to the rings and a lapping bar slides between them to remove material and provide an even surface for alignment. Lapping scope rings isn’t simple because it’s easy to over lap. It also likely voids the warranty, and lapping process equipment is not cheap.
I provide a step-by-step instructional guide to walk you through the process. This is based off the purchase of a lapping kit which has all the tools you’ll need.
What is Lapping?
In general, lapping is the process of applying pressure and friction between parts to remove inconsistencies. This provides a smooth, contoured surface. In the case of lapping scope rings, a steel bar is worked back and forth to remove rough, uneven spots in the rings.
Lapping isn’t always necessary. You may go through your entire shooting career never having done it once. However, there’s good cause for checking ring alignment if:
- Groups are inconsistent
- Zero retention loss
- Scope shows fast signs of finish damage
- There are concerns of too tight torque specs on the erector tube
- There are gaps within the rings with the scope installed even with right torque specs
Lapping scope rings has been done as a maintenance procedure for a long time to ensure alignment between the rings, scope, and mount base. One or all of these things can be misaligned, but these days, made-to-spec machined parts are pretty good.

Benefits & Disadvantages of Lapping Scope Rings
Pros:
- Improve holding/contact power between rings and scope
- Prevent scratches/marring on the scope finish
- Protect scope internals from pinching/cinching
- Remove gaps around scope inside the rings
- Potentially improve accuracy and zero retention
Cons:
- Voids the warranty on the rings
- Easy to overlap the rings – will need new rings
- Recommended to purchase lapping kit – extra cost
- Not reversible – lapping changes are inalterable!
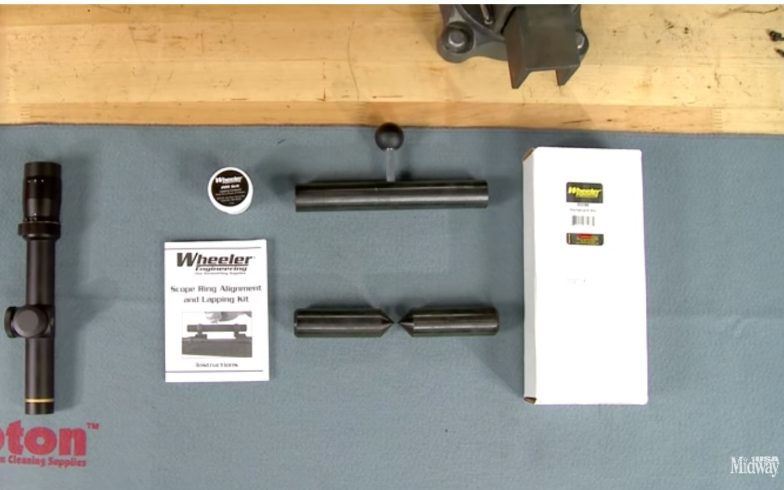
Lapping Equipment & Kits
There are DIY methods to lapping scope rings, but since results vary, I’m putting the onus of responsibility and accountability back on you. If you’re going to lap scope rings yourself, a lapping kit provides the tools that you need.
The downside is that lapping kits aren’t what I would consider cheap. There are various kits available, but I’ve listed some of the most popular ones.
| Product | Type | Features | Price Range |
|---|---|---|---|
| Wheeler Scope Mounting Combo Kit | All-in-One | Best Overall | Under $150 |
| Monstrum Alignment & Lapping Tool Kit | 1” & 30mm Kit | Best for the Money | Under $50 |
| Brownell’s Scope Ring Alignment Lap Kit | 1” & 30mm Kit | Best Made in USA | Under $60 |
| Wheeler Alignment & Lapping Kit | Alignment & lapping kit | Best Brand | Under $80 |
| Weaver Deluxe Scope Mounting Kit | All-in-One | Best Deluxe Kit | Under $150 |
The larger the scope tube, the harder it may be to find the right size lapping kit. Keep this in mind if your rings are larger than 30mm.
How to Lap Scope Rings – Step by Step Guide!
1. Secure the Barrel
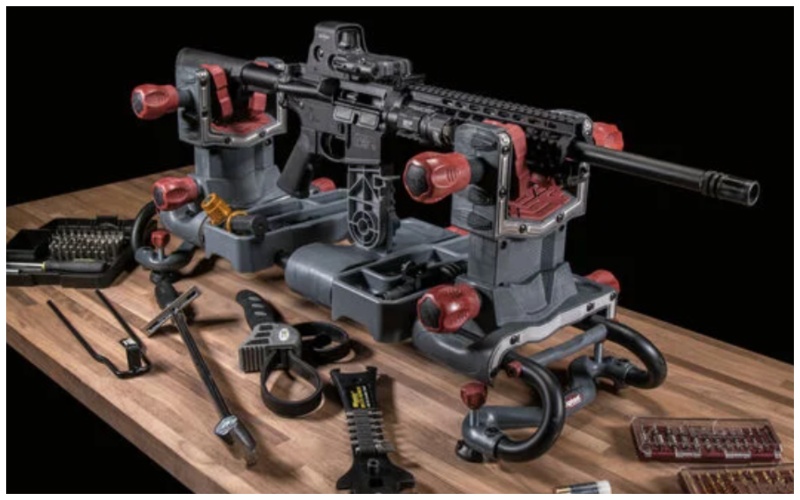
The rifle should be mounted in a vice intended for firearms. These are usually padded to prevent damage to the barrel. Basically, secure the firearm into a sturdy, solid position. Please ensure all ammunition is out of the immediate area, and that you’re working in a clean and tidy space.
2. Mount the Base Rings
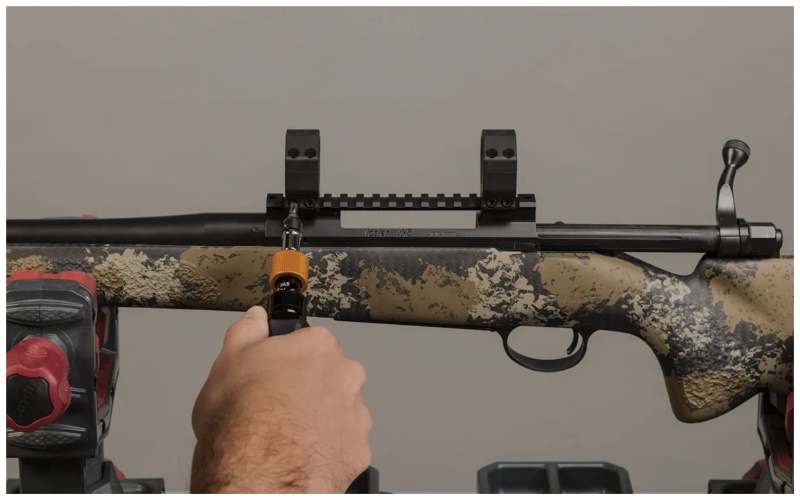
Mount the base rings to the mount on the firearm receiver where you want them positioned. Follow torque specs as you won’t need to remove them throughout this process. Keep in mind that you will need to mount them in the most appropriate position to meet eye relief specs and your natural cheekweld.
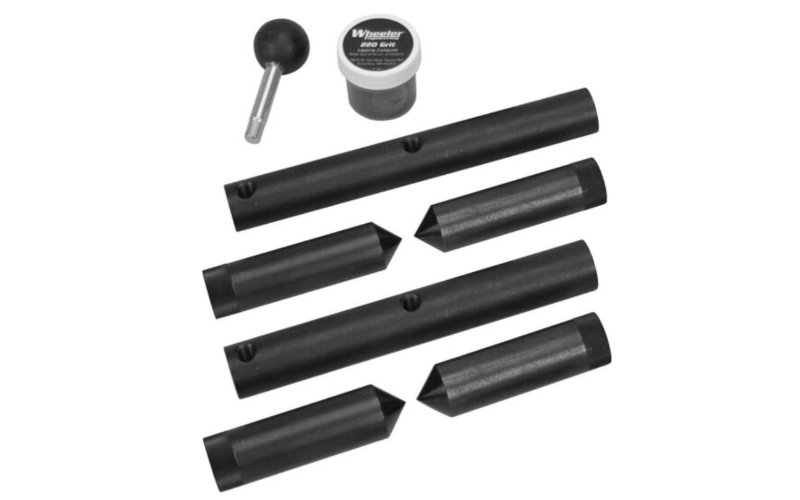
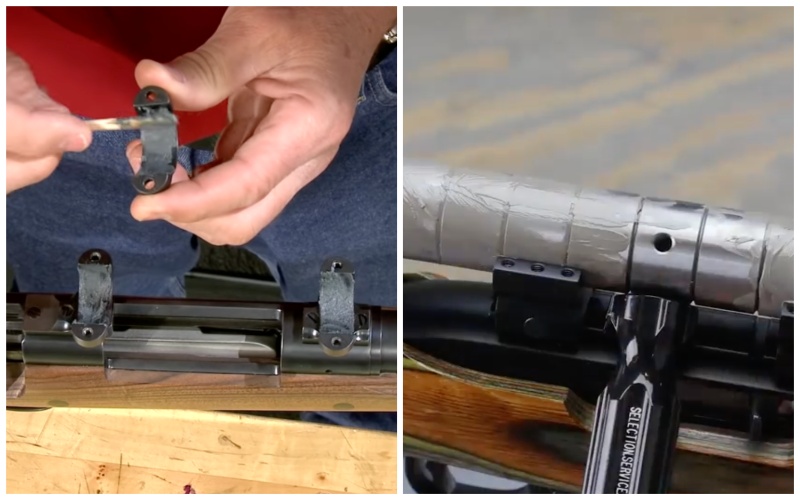
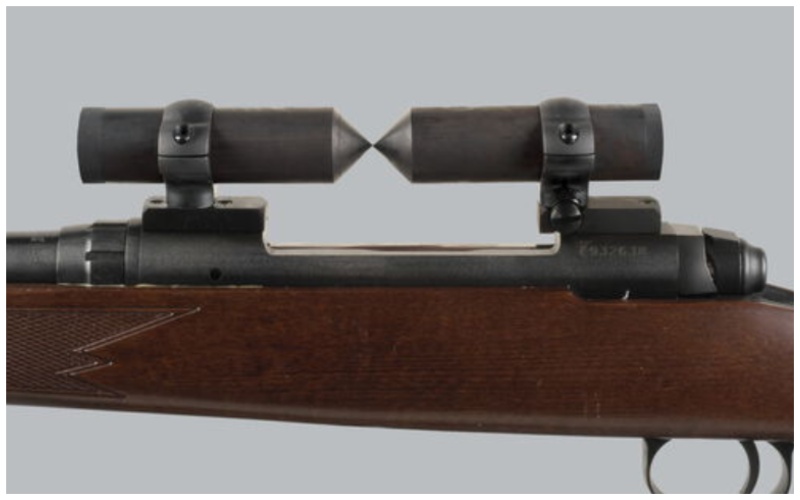
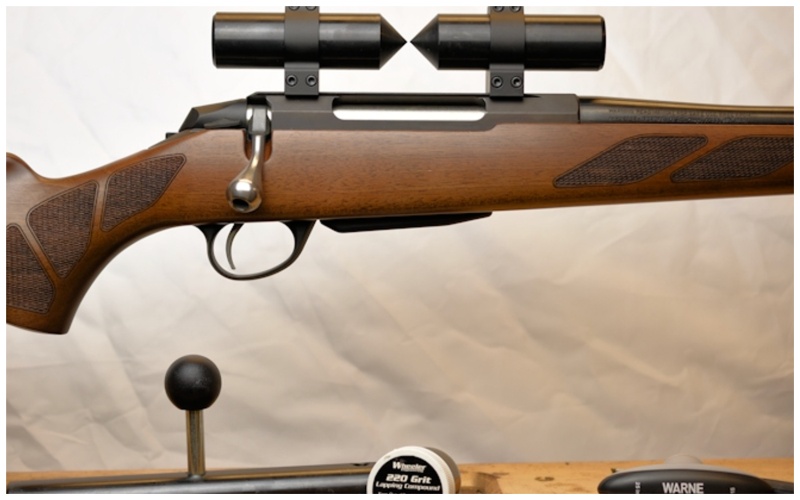
3. Insert the Alignment Bar
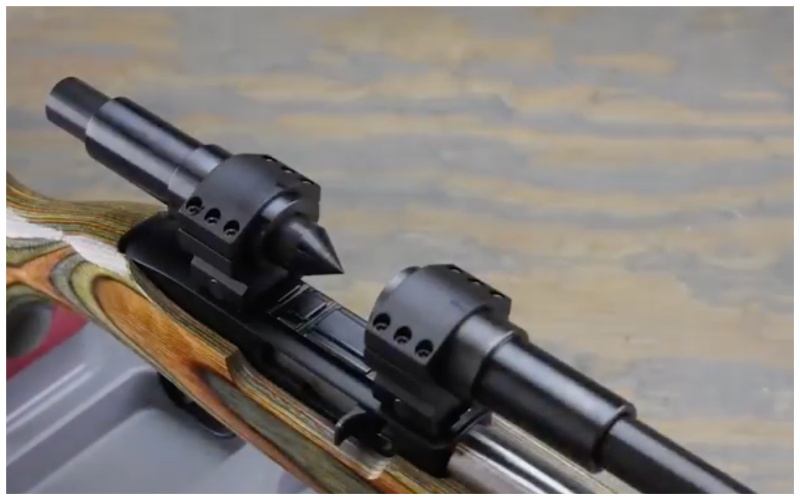
The lapping kit should be the right size for the rings that you’re lapping. This means that if you are lapping 1” rings, you’ll need to use the 1” alignment bars and 1” lapping bar.
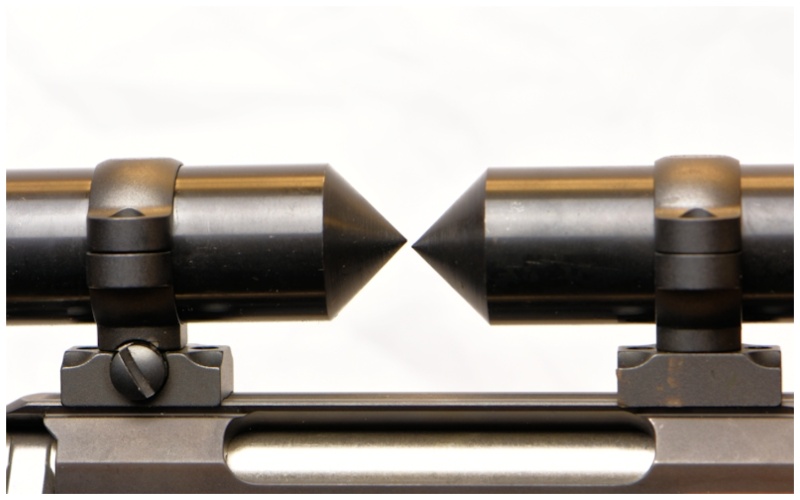
Insert the alignment bars into the base rings with the pointed ends facing each other.
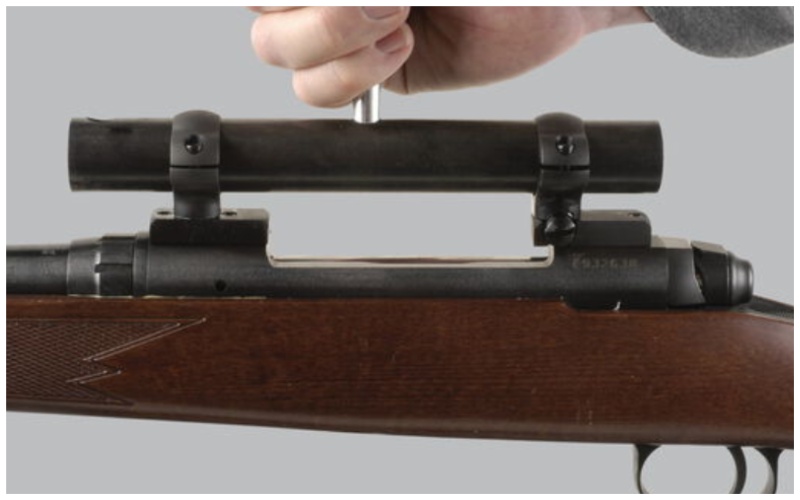
4. Mount the Top Rings & Observe Alignment
With the alignment bars installed, go ahead and mount the top rings to the base rings. This part of the procedure is to check scope ring lapping alignment.
Observe the alignment or misalignment. Not only look from top to bottom, but also observe from left to right.
You may notice that they’re slightly off and misaligned if the rings are in bad shape. This is what lapping is supposed to remedy. Many well-machined rings will be just fine. It’s always worth doing this step because once you start lapping, you can’t take it back.
5. Mark the Rings
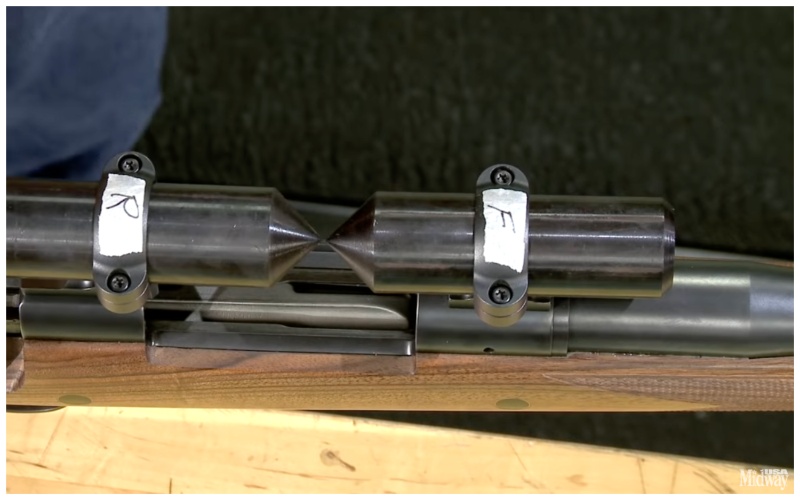
You will want to mark the top rings to remember which is positioned for the front and back. You’ll also want to mark the orientation - which way they’re facing. To avoid confusing them, just put a little tape on the top rings and use a Sharpie to label them.
Remove the top rings from the base rings. Remove the alignment bars.
6. Apply the Lapping Compound
First things first. Do not pull out the lapping compound just yet. I highly recommend covering up the receiver so that none of the lapping compound or any material residue gets into any nooks and crannies.
Liberally apply the lapping compound to the inner sides of all the rings. I’ve seen it put directly on the lapping bar too, but I would recommend sticking with applying it to the rings.
What this compound does is sand down the high, rough, and uneven spots in the rings so that it’s more uniform for the scope tube.
7. Insert the Lapping Bar & Remount Top Rings
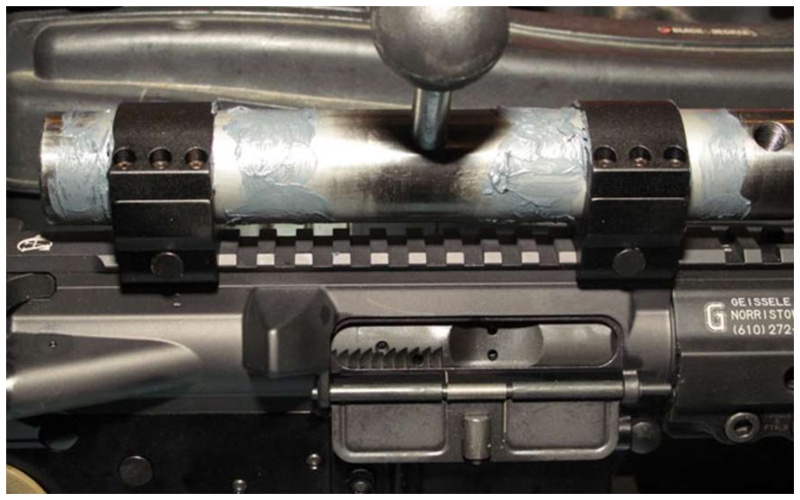
At this point, you may need to attach the handle/knob to the lapping bar. Once that’s done, place the lapping bar into the base rings and remount the top rings.
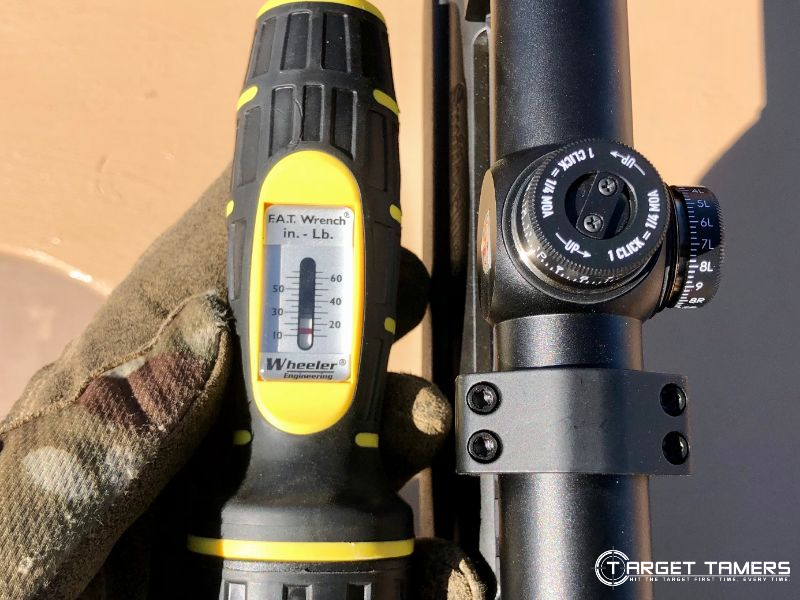
You don’t want to over torque the rings. The goal is to secure the rings just enough to apply contact to the bar to that it can still slide back and forth within the rings.
8. Lap the Rings
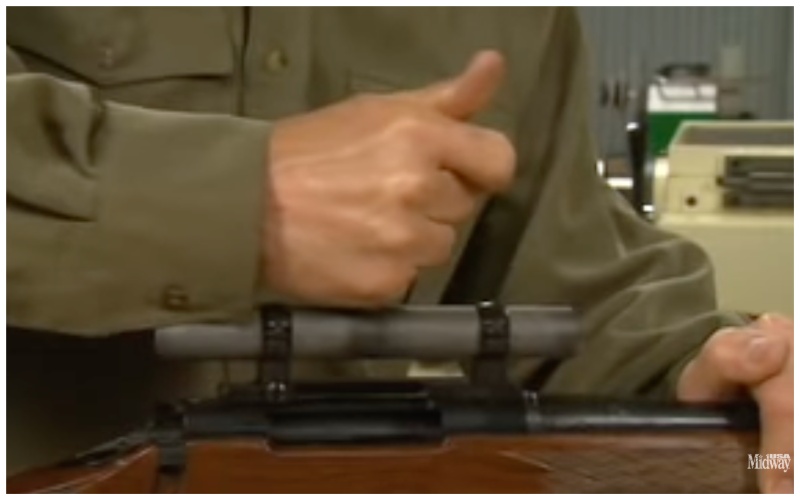
Sliding the lapping bar back and forth is the “lapping” motion. After a good lap (about one minute), tighten the screws a little. Lap again for another minute. Tighten screws a little more.
Remember, easy does it. You can’t back pedal once you’ve done it. You could end up creating more of a gap than is needed. Make this mistake and you’ll need new rings!
Keep the pressure equal from front to back. Applying too much pressure on one set of rings will cause uneven lapping.
Additionally, you will want to lap the bar left to right – move the handle from one side to the other side in a figure 8 motion. This also helps with a more precise and uniform lap. Remember, the goal is to remove rough spots and you can sort of ‘feel’ the lapping becoming easier as less resistance is met.
9. Check Your Progress
Feel free to do this as often as you want. I’d personally recommend after about five minutes. Remove the top rings and observe the new wear inside the rings. What you’ve done is smoothed away part of the ring surface/material to create better contact between the lapping bar and the rings resulting in a better fit for the scope.
Clean off the compound from the rings. Now would be a good idea to check alignment with the alignment bars again.
If the rings need more lapping, repeat steps 6 to 8. If you have various sizes of grit compound, use the most appropriate one and time it for how much progress you want to see going forward. If you only have the one size grit, alter how much is used this time around for how much progress you want to see.
If you’re happy with the results thus far, move on to the next step.
10. Clean the Rings
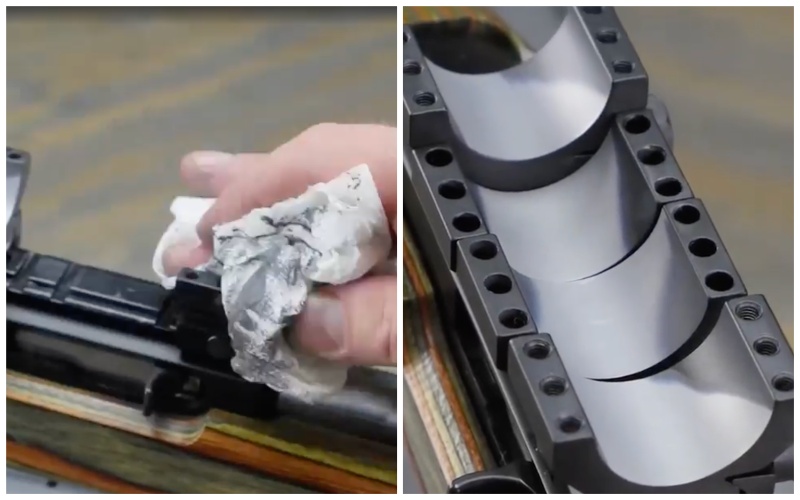
When you’re happy with the lapping results, clean the rings and the lapping bar to remove any compound residue and excess material. Please keep the cover on the receiver during the cleaning process.
11. Mount the Rifle Scope
At this point, the scope is ready to be mounted inside the base rings. Acquire the correct eye relief, level the scope, and complete the mounting process. You can remove the cover from the receiver.
To get more info on mounting your riflescope, see our guide on it here!
12. Confirm Zero

If your setup was zeroed prior to lapping the rings, I would strongly recommend sighting in the scope again.
For in-depth information on sighting-in a scope for 100 yards, check out this guide.
FAQ's
Not all scope rings need to be lapped or are worth lapping. A general rule of thumb is that if the scope is used for plinking and recreational shooting, lapping is not mandatory. However, for precision shooting, lapping may be required to improve scope contact, accuracy, and zero retention.
Scope rings can be over tightened and cause excess stress on the erector tube. It's very likely that over torquing will strip the screws making it extremely difficult to remove the scope or the rings from the mounting base. Follow scope ring torque recommendations provided in the riflescope manual.
On average, the matter of lapping scope rings is debatable. However, there are solid benefits to lapping that includes improving contact between the rings and scope tube that provides better grip hold. This can help with accuracy and zero retention while protecting the scope finish and internals.
Image by Tina Fa'apoi (Own Work) for Target Tamers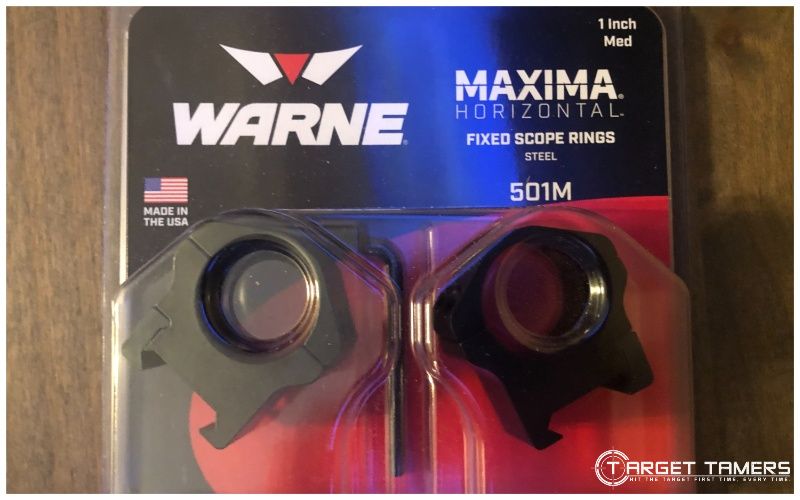
Discover top scope mounting kits for secure attachment and easy installation. Elevate your shooting setup with precision and stability.
Does Lapping Scope Rings Work?
Whether it’s poorly machined rings or old rings that are the cause of contact problems between the mounting system and the riflescope, lapping the scope rings could be a viable solution to improve overall performance of all parts involved.
Lapping helps to relieve the scope of excess pressure from uneven rings. That pressure can mar the scope finish, crimp the tube, and bind or damage the internal components like the turret system.
Lapping is a common practice and for good reason too. It’s not needed all the time, but lapping scope rings correctly does work.
Further Reading